Yamaguchi Framebuilding School - Day 7
The rear dropout lugs, placed in the alignment jig, capture the chainstays for tack welding.
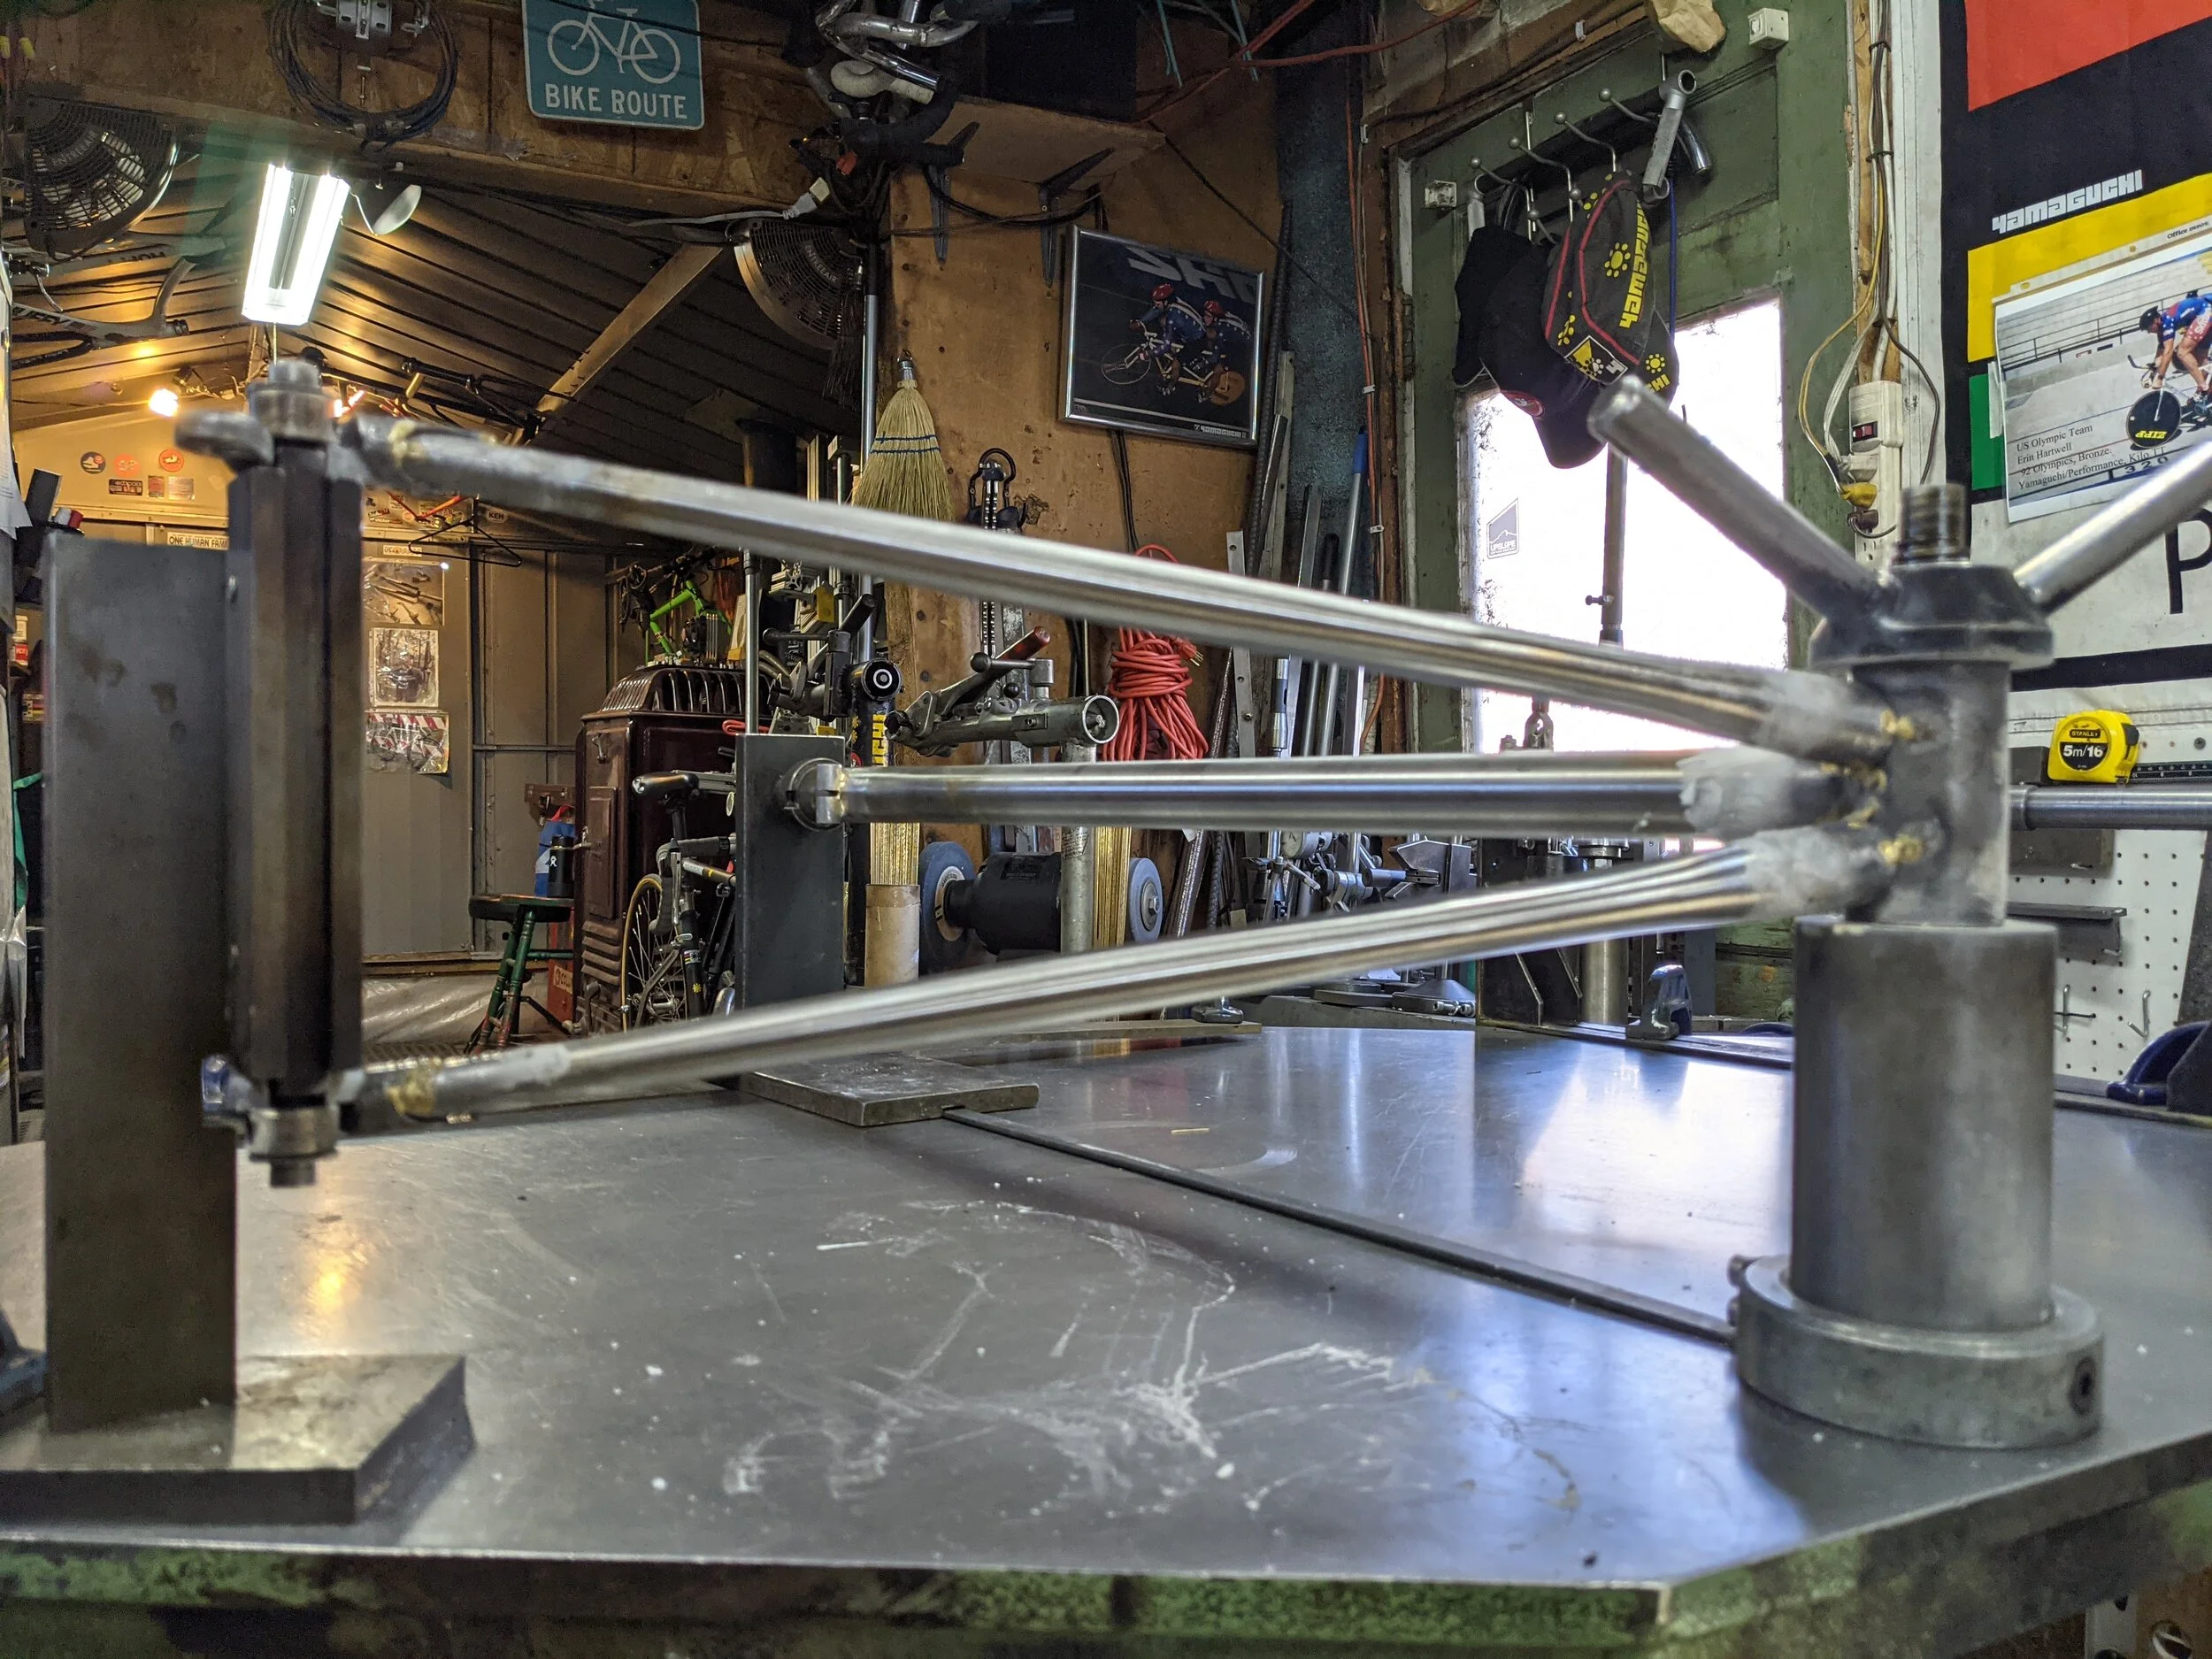
Busy day today! The main task was fitting up and tack welding the rear triangle of the frame.
Despite the rear triangle containing four elements (two seatstays and two chainstays) it goes together much faster than the front triangle. This is partially because pre-cast steel lugs are used to join the seatstays and chainstays, and provide the geometry for mounting the rear wheel. First, a dummy jig which duplicates the geometry of the rear axle is positioned in the appropriate place. The frame is also roughly straightened via manual bending at this stage. The chainstays are cut to first and mitered to the appropriate angle (roughly 6.5 degrees of splay from the centerline). As before, an iterative process is used to gradually shorten the chainstay until it is exactly correct in length. Once they’re both correct and symmetric, the lugs are clamped to the jig, trapping the seatstays in place. The assembly is cleaned, roughened, fluxed, and tack-brazed together.
Once the chainstays are affixed, the seatstays can be fit up. We are using “double-tapered” seat stays that are fat in the middle, and thin on the ends. This provides a good compromise of frame stiffness and ride comfort. Care is taken to keep them oriented properly, since the taper is not symmetrical. Just as with the chainstays, they are mitered and shortened over the course of a few trips to the frame jig. Since they are welded to the seatpost clamping lug, the miter is cut on a relatively small diameter (12mm or so). Once that’s been accomplished, 2.5mm breather holes are drilled near the seatpost end. Tack welds are then applied.
After the tack welds have cooled, something amazing happens (or at least happened in my head). The frame “pops” into 3D, where before it only occupied 2D space in my cognitive map. It now feels a lot more real, and sort of present, to me. It is also cool as hell to see the frame hanging on the wall, against Koichi’s world championship banner!
Tomorrow, no surprise, will be devoted to finalizing the welding on the rear triangle and bottom bracket. After that, braze-on fixtures like the rear brake bridge and water bottle mounts will be attached.

Is this the real life?