
Yamaguchi Stembuilding Class
As an optional addition to the framebuilding school, Koichi Yamaguchi also offers a one-day stem building class. The stem, connecting the steering tube to the handlebars, is one of the most critical components in terms of bike fit and ergonomics. In my opinion it’s a no-brainer to pony up for the extra day, because it enables you to build a stem that exactly matches the angles and gometry of your custom frame.
Just like the framebuilding school, the stembuilding class kicks off with a bit of history and design chat. Koichi has a pretty incredible array of vintage and modern stems inhabiting his workshop. He laid out a selection of the important ones to think about on the surface plate.

A small selection of historical and modern day stems.
After discussing the history of stem design, we turn to the current bike project. The frame build uses a 1-1/8” steering tube, which rules out the older “quill” style stems. We also agree that it looks best for both the frame top-tube and stem to be parallel - thus setting the stem angle at 74 degrees. The length of the stem tube is determined by my desire for somewhat aggressive steering and handling. Koichi feels that a 120mm stem is best for all-around riding and stage racing, so we shorten that to 110mm for a slightly snappier ride. On a track bike an even shorter stem is common, but can this can feel very unstable on uneven asphalt conditions. Finally, we decide on a handlebar clamp diameter. I’m going to ride with some vintage-style Nitto road bars, a 26mm diameter clamp is in order. With these determinations, we have a final diagram. The appropriate diameter tubes are cut and mitered to match.

The stem plan.
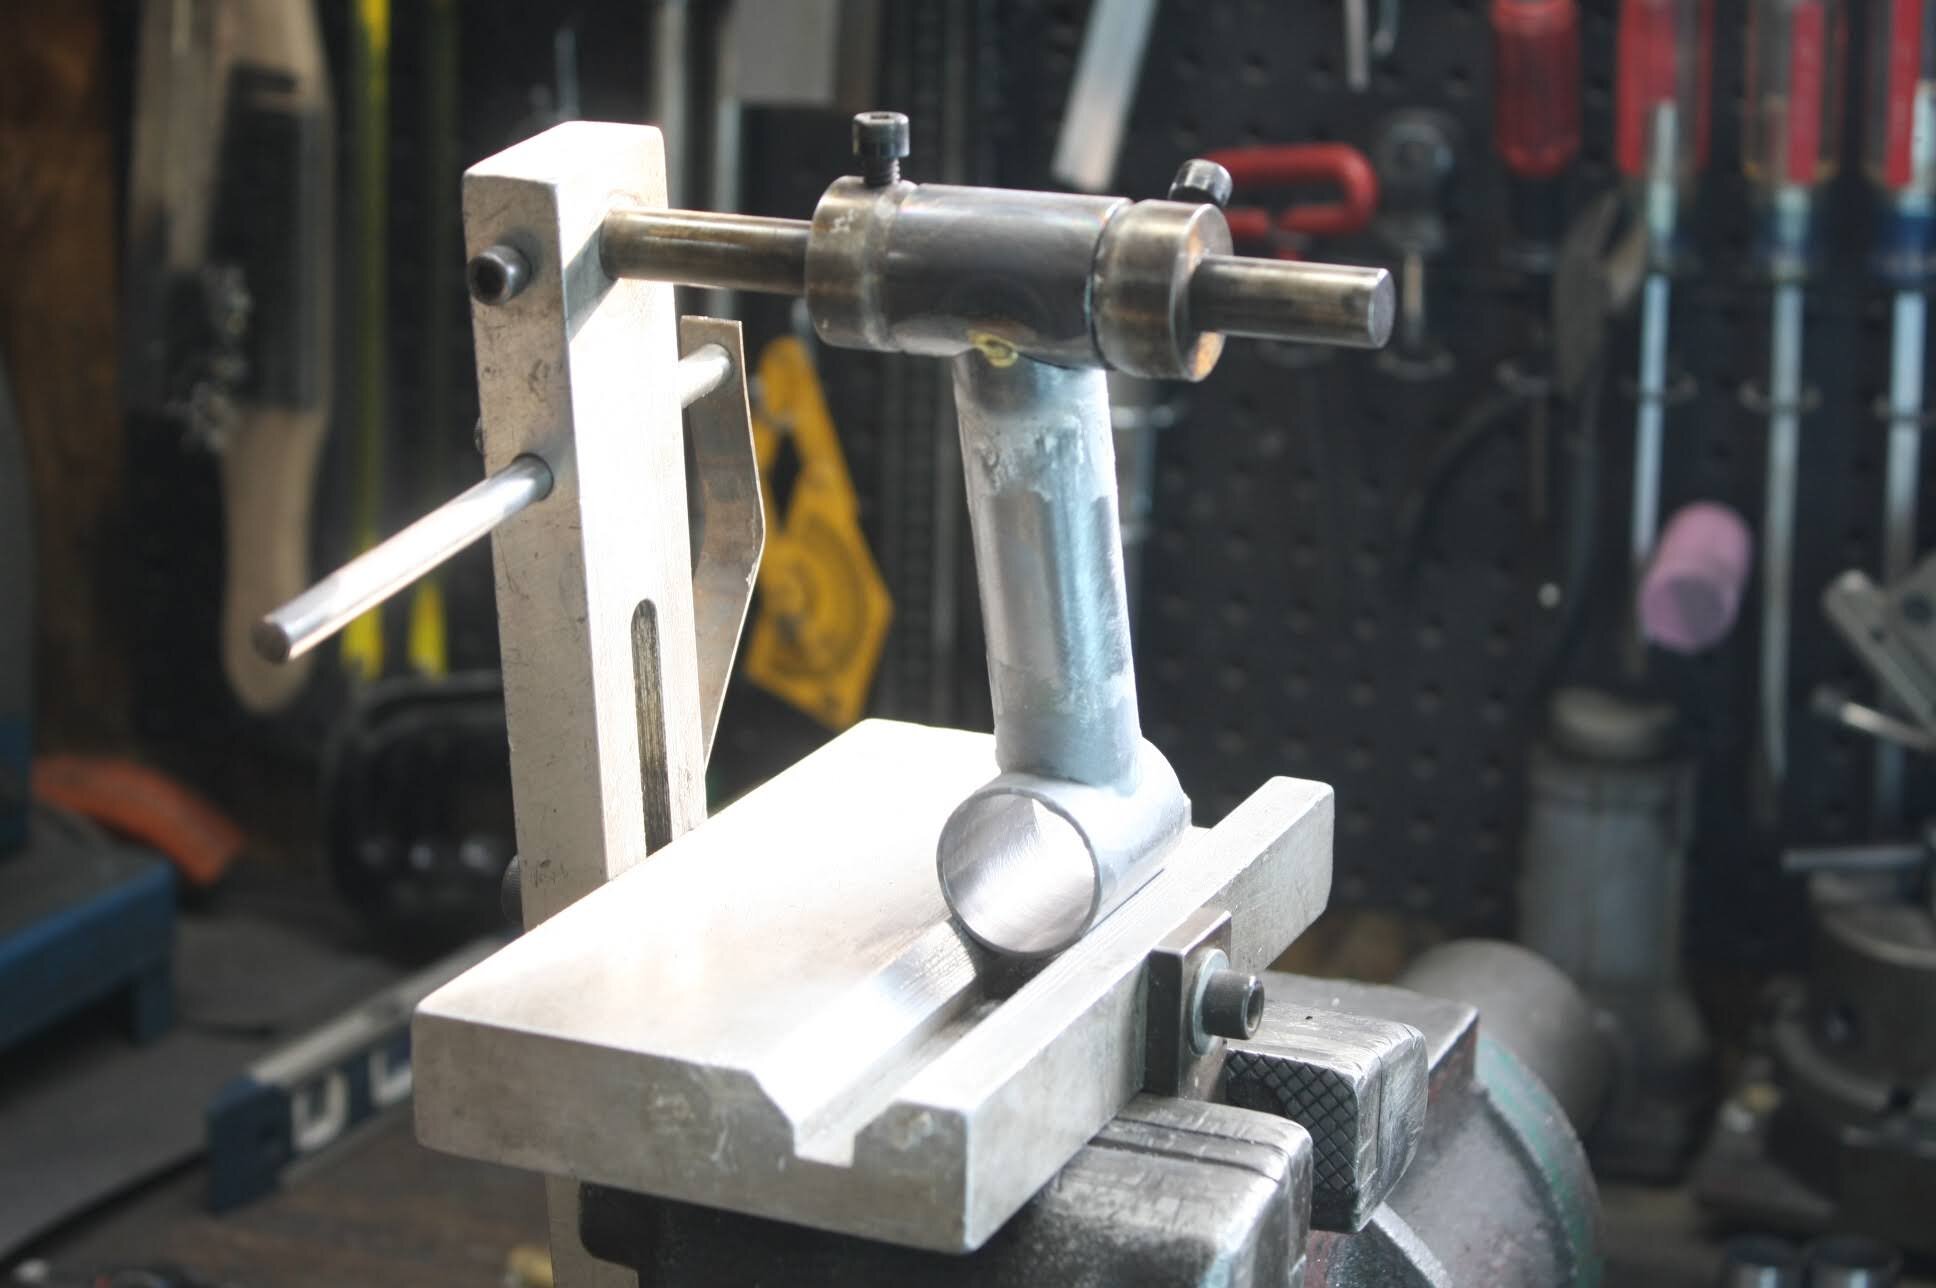
Once the stem components have been cut and mitered, they are set up for tack brazing in a really nice little jig designed by Koichi. The handlebar clamp tube is secured by two conical bushings on an arbor, which is in turn affixed to a pivoting arm. The stem tube is held in a V-block, and an adjustable leaf spring holds it in place. The handlebar clamp is tacked to the stem tube, and then the pivoting arm is used to rotate the welded pair upwards. The steering tube clamp is then placed in the V-block where the stem tube previously sat, and it is tack brazed in turn.
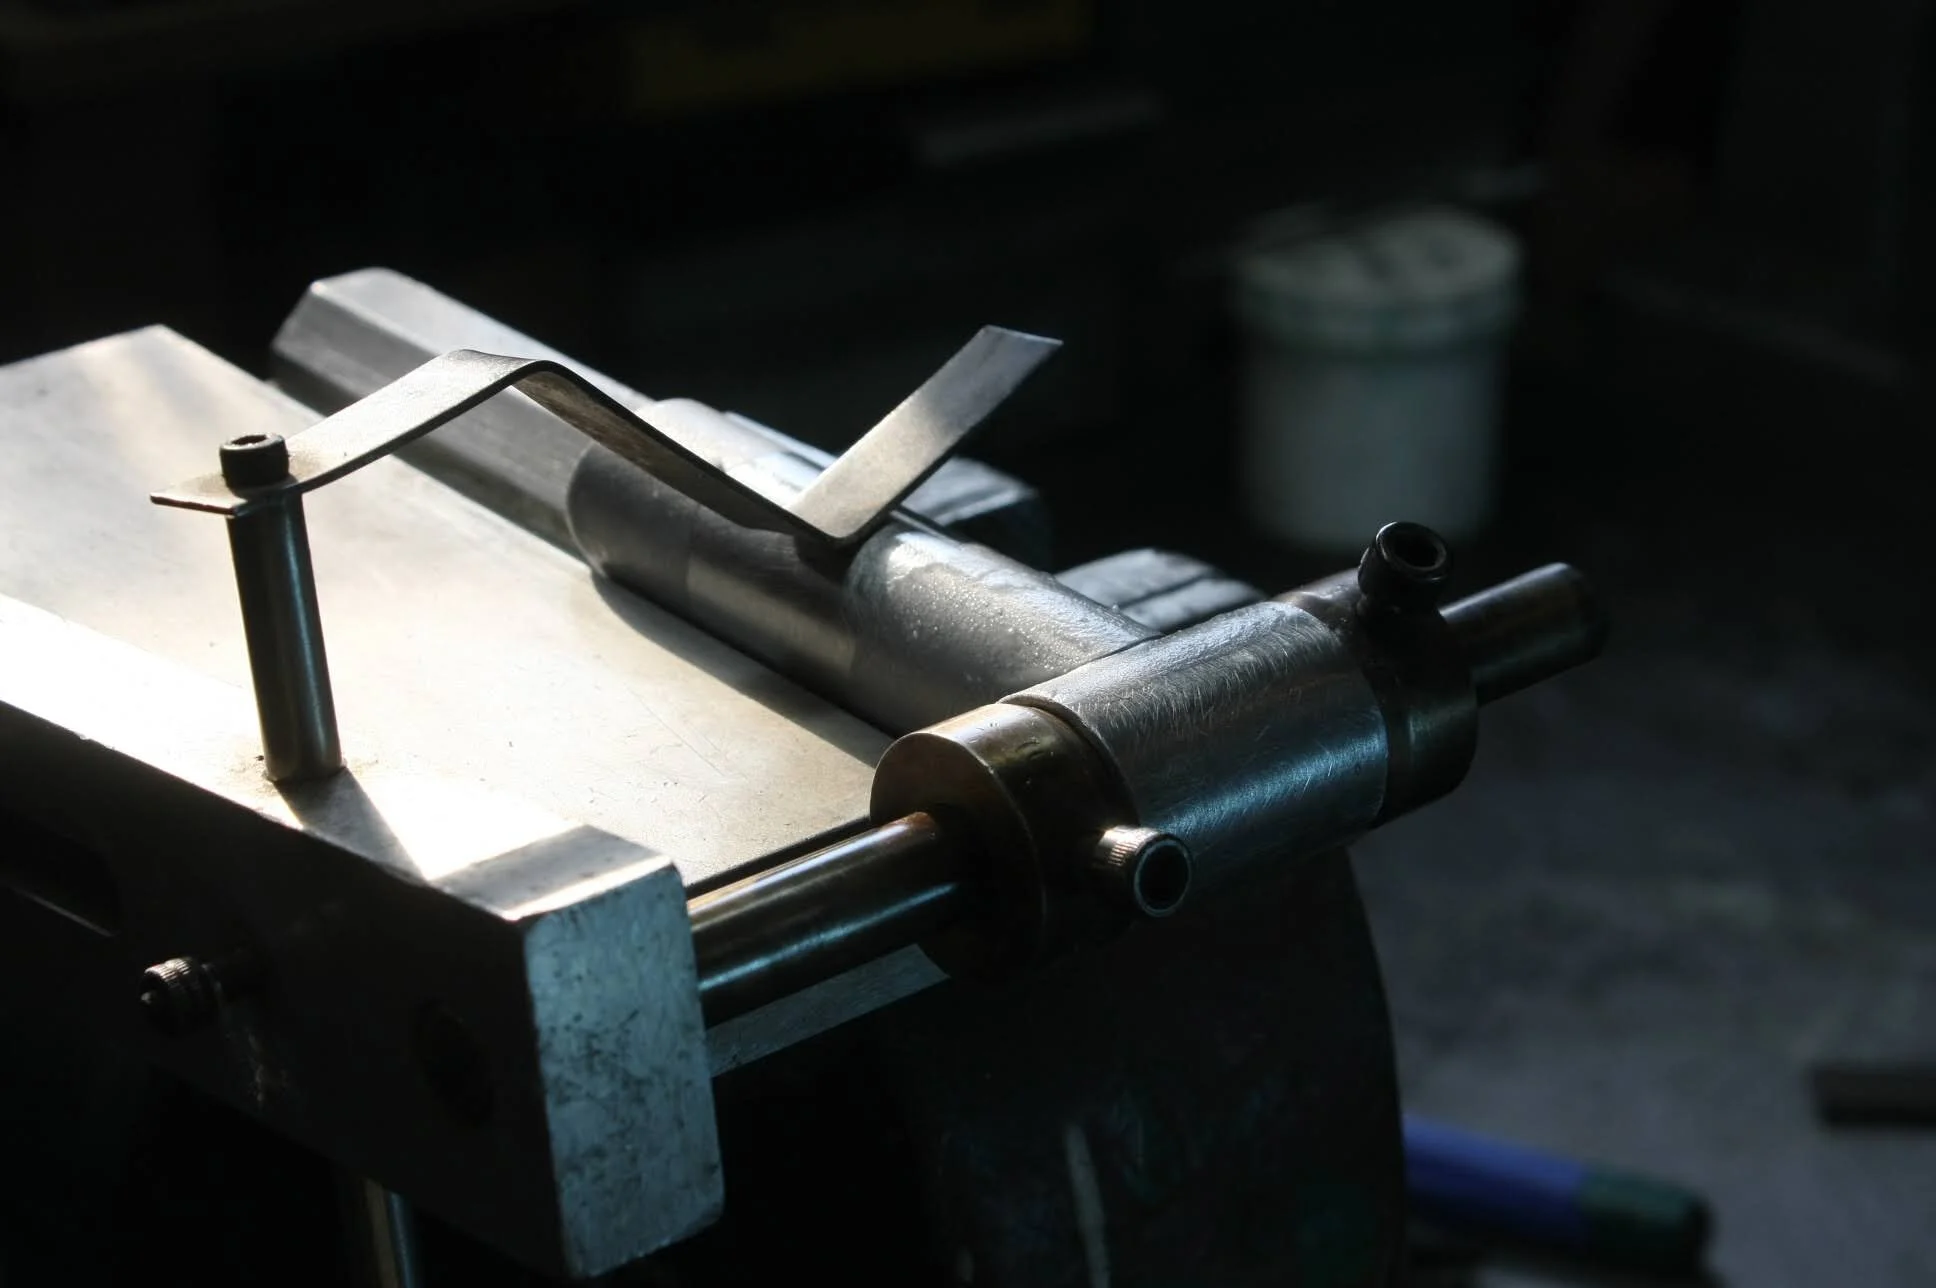


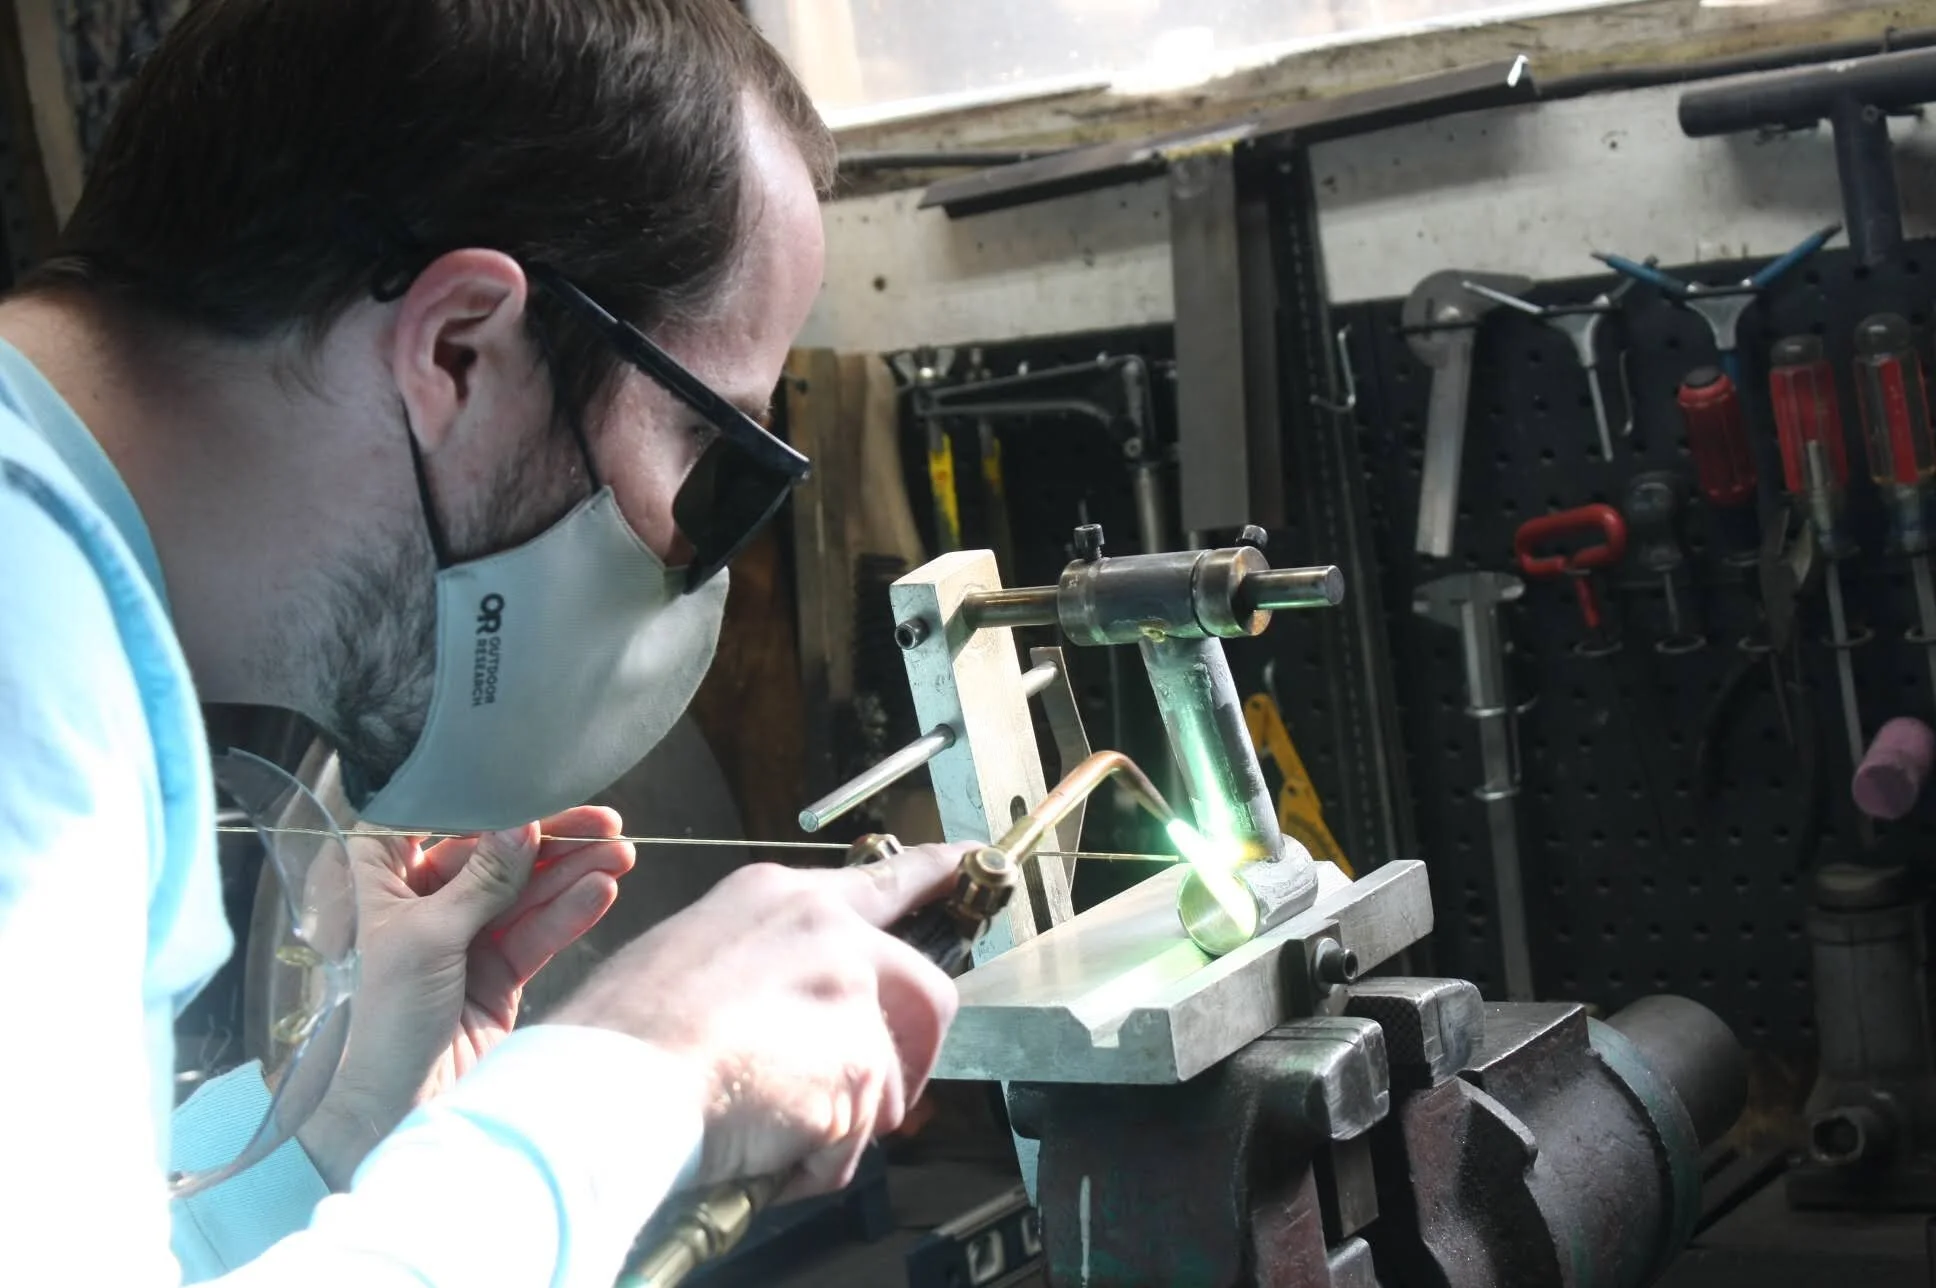
After tacking, more flux is applied, and both joints are brazed in two passes. The first is a root pass - as used on the frame - which provides great mechanical strength. The second pass produces an aesthetically pleasing fillet which joins the contours of the tubes.

Raw fillet welds on the stem.
Once the tubes of the stem have been joined, small steel lugs with the threads for the stem and handlebar clamps are brazed on. After the brazing is cleaned up, notches are filed on the handlebar clamping tube to make threading curved drop bars in easier. After that, a hacksaw is used to slit the clamping tubes. The ends of the stem clamping tube are then faced using a line-boring jig, in manner identical to how the head tube is machined. After a bit of polishing, the stem is ready for paint!

Slitting the stem clamp.

Facing the steering tube clamp.